How To Tape A Hockey Stick Toe Like A Pro
Posted by on

Most hockey players take their tape jobs seriously.
David Pastrnak, not so much. The Bruins forward has blamed his drunken candy cane swirl of a tape job on penny-pinching ways born from his Czech upbringing. And he celebrated the Islanders’ signing of his friend, ex-Russian leaguer and fellow Czech Jan Kovar, by declaring on Twitter, "... finally won’t have the worst tape job in the league!"
Kovar’s few indifferent laps of the middle of his blade are, indeed, atrocious. For those who want to do better, read on.
Why Tape? What Tape?

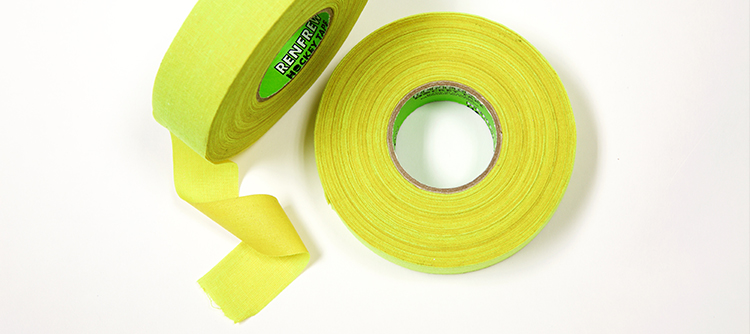
As for what tape to use, hockey tape (or "hockey stick tape”) is the obvious choice. It is typically a cotton/poly blend with rubber adhesive and formulated to not leave residue when removed. Other options include cloth friction tape, gaffers tape, athletic tape and electrical tape. Duct tape should be avoided, as it tends to make a mess.
If you can, resist the temptation for colors. Black obscures the puck from defensemen, and white blends with the ice to make it more difficult for goalies to read your blade.
How Often?
For optimal performance in terms of feel, your stick should get new tape for every game. Many pros re-tape for every practice. But, for most amateurs, protection is the primary goal and, therefore, tape needs to be replaced only when it is showing wear (fraying and the like) along the bottom edge.
Getting a Handle on It
There are one-piece grip products available, but taping grips are still common. Grip tape (like the stuff tennis players use) is spongier than regular stick tape, but also comes off easier and should be tacked down at the bottom with a course or two of stick tape.
Regardless, you’re going to start at the butt end of the stick, building a knob — figure in the neighborhood of 20 directly overlapping courses to build a proper knob. From there, wind a single course, with a consistent overlap as you go, at least as far down as your top glove reaches below the knob.
Throwing Blade
Let’s assume your stick has been taped before. First thing, cut away the old tape.
You can tape from toe to heel or heel to toe. Heel to toe makes for easier trimming and leaves “seams” that face the heel.
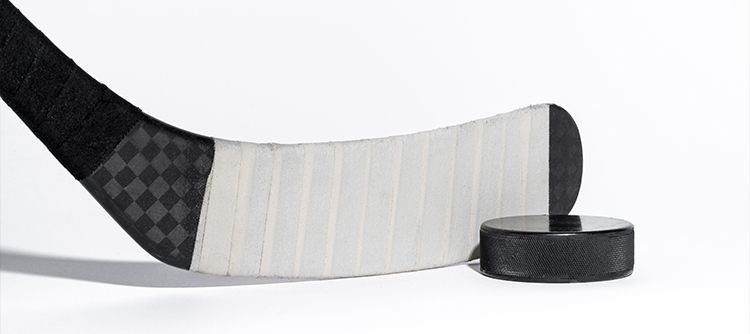
Start with the tape a half-inch or so from the top of the blade, on the back. Wind up and over the top of the blade, down the front side and up the back, and so on until you’re done. More protection and softer feel means more tape, so that means tighter overlaps. No bubbles, no ridges — smooth them as you go or start over.
Some players leave the toe of the blade exposed. If that’s your chase, tear the tape so that the end overlaps the top and stops on the front of the blade.
If you’re covering the whole blade, make a few extra passes beyond the end. Press the excess together. Trim with scissors or a utility knife.

Now Grab Some Wax
There are plenty of wax options out there. You can purchase wax specifically designed for hockey blades (these are normally a bit on the stickier side) or get creative and use an old candle. The wax will help keep ice/snow buildup off your blade – something that may start to interfere with your stickhandling as the game goes on.
Going with the grain, rub your wax across the bottom of the blade. The seams will lie down better and the extra layer will help to protect the blade.
Do the same to the front and back faces of the blade for extra control.
Have any ideas for the blog? Topics you would like to see covered? Contact us and let us know!
 Loading... Please wait...


