Home-Baked Skates Might Be The Right Fit
Posted by Adam Rosenbaum on 08 07 2018
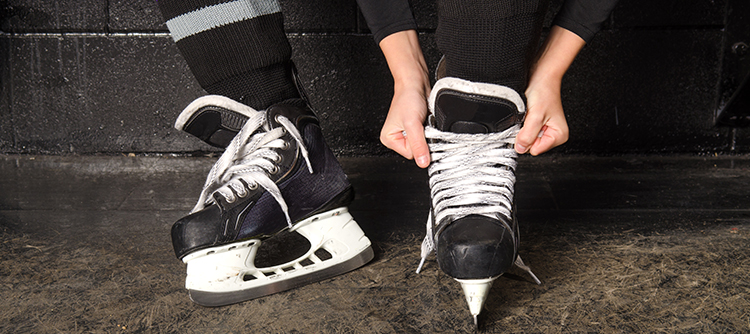
You want to bake your skates.
Maybe you bought them online or got them as a gift. Maybe you don’t have time to get to a pro shop, or maybe your local shop is charging too much (FYI, a chain sporting goods store will do it for $25 if they don’t sell you the skates, free if they do). Maybe you just like doing things yourself.
Whatever your reasons, you can bake your hockey skates at home — a process that many swear by for resolving fit issues (sore spots, general discomfort) arising from new skates and reducing break-in time. We’re here to tell you how.
A Couple of Caveats
Make sure your skates are moldable. Many entry-level skates are not, and exposure to heat can damage them.
If you can, use a pro shop. Their ovens are designed for the task. If something goes wrong, it’s their responsibility. Yes, something might go wrong if you’re not cautious — so be careful!
Preparation Is Key
First, check your oven’s temperature. Some ovens run hotter or cooler than what the dial says. Most grocery stores sell thermometers that sit on or hang from oven racks, and most serious bakers (think bread, not Bauer) own one.
Gather what you’ll need, which is:
- Skates (unlaced enough so that your foot can slide in, not so much that the laces will come into contact with any of the oven’s internal surfaces)
- Large baking (cookie) sheet
- Timer
- Oven mitts
- Skate socks (you should be wearing them)
- Chair positioned by a skate-safe floor mat
It’s Go Time
Taking note of their stiffness at ambient temperatures, lay the skates on the baking sheet so they are not touching each other or anything else besides the sheet. If you can do only one at a time, that’s fine.

Preheat your oven. If you have convection mode, use it (convection airflow ensures a more uniform temperature throughout the oven). Some skates will come with specific instructions regarding temperature and time of baking. If not, you’ll find home-bakers recommending anything from 175 to 210 degrees Fahrenheit. Once it is preheated, turn it off.
Bake for three to four minutes, unless the manufacturer specifies a time. If you note a faint aroma of baking skate materials, that’s not out of the ordinary. If you can’t resist checking on the progress of your skates, do so quickly so that the oven doesn’t lose too much heat.
The Fit Bit
Using your oven mitts, take one skate out of the oven (you should notice a decidedly less stiff boot), put it on and lace it up — snugly, but not overtight. Then, if you’ve baked both at once, do the same with the other skate.
When lacing DO NOT pull up, down or at an angle on the laces. When skates are warm, this can deform or dislodge the eyelets. Pull straight outward, parallel to the ground and perpendicular to your toe point.
Now, sit. Blades flat on the floor, ankles and knees at 90-degree angles. If your skates are slightly narrow, a few minutes of standing, so that your feet spread and help to widen the foot bed, is OK — but DO NOT walk around on the skates or flex your ankles (either puts undue stress on the eyelets).
After 15 minutes, remove your skates. Re-lace them and stand them up so they don’t deform while cooling.
Let them sit for 24 hours. The adhesives need to set again. If you absolutely have to, you could skate after a 12-hour cooling period, but that is not recommended.
Have any ideas for the blog? Topics you would like to see covered? Contact us and let us know!